How would you like to have a fresh evergreen centerpiece for Christmas?
I’ve been making one for years and now… with this tutorial you can too!

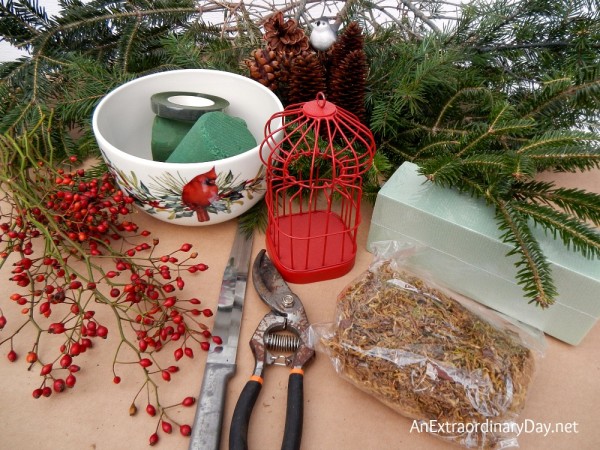
Let’s start with our supplies…
- Waterproof container ~ This Lenox Winter Greetings Bowl*
is a new version and similar to the one I used.
- Pruner *
- Sharp knife with a long blade
- Oasis® floral foam*
- Assorted fresh cut evergreens
- Berries or rose hips ~ fresh or artificial
- Pine cones
- English ivy or boxwood is also a wonderful addition
- Optional: small bird house, bird cage, candle, bird, etc.
Hot tip! I picked up my evergreens from Lowe’s. They collect the trimmings from Christmas trees in a big box. Ask, and they’ll probably let you take as much as you need… for FREE!
I usually scan the country roads for rose hips or winterberry. Whatever you prune, be sure to do it judiciously so that the bush will be more healthy because of your pruning. (One year, someone just about killed a winterberry due to their greed. The bush never recovered.)
Pick up pine cones when you walk in your local park. If they’re closed or wet you’ll want to bake them to open them as I did and to get rid of any “riders.” Here’s my pine cone tutorial.
To begin…
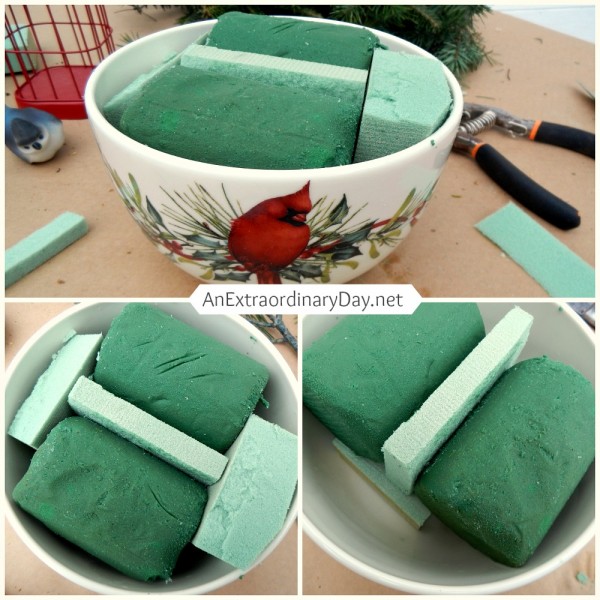
- Soak your Oasis in a bucket of water for a few hours. You want it to be filled with water. If you have some floral life, add that to your water.
- Next you’ll want to cut it to fit your container. It should be wedged in snugly so that it will not move. If you wish you can use a sticky tape crisscrossing the foam to insure it will stay. (Note: I have two different types of floral foam in my container. The light is for dry or silk flowers. It’s what I had on hand, so I used it. I had to be careful so that all my evergreens went into the wet Oasis and not the Sahara/dry foam.)
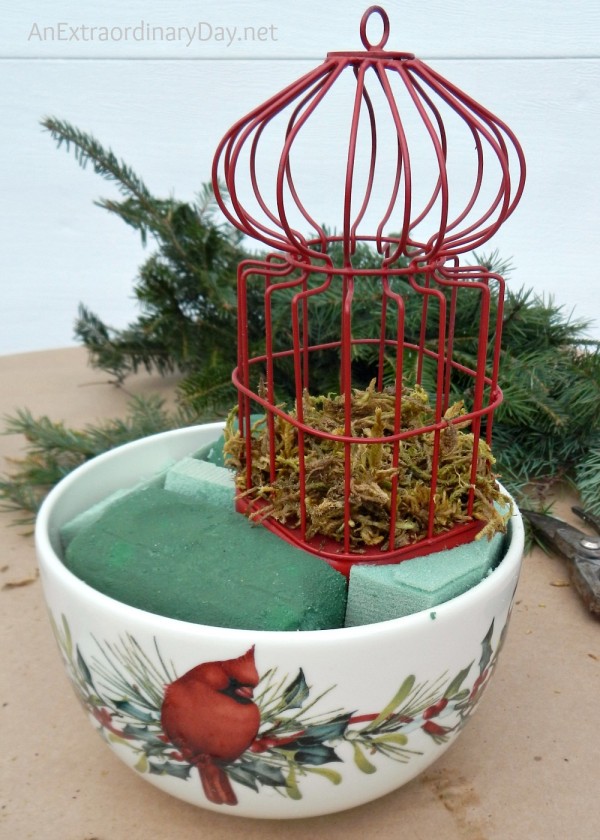
- In this particular centerpiece, I used a large bird cage ornament for a focal feature. It has a bottom with edges, so I was able to push it into the foam to hold it in place. Any time you add an object, try to secure it in some way, so someone doesn’t accidentally knock it off.
- I filled the bird cage with some sphagnum moss from the dollar store and later you’ll see I added a piece of bark with lichen for interest.
- Now, it’s time to prepare your greens. I give my greens a trim or cut them so that they are about the length I need them for the arrangement. Vary the lengths some, as you’ll need some that are shorter.
- I was careful to make this a tighter arrangement… not very long, wide, or high, so that we could enjoy it on the table during our dinner.
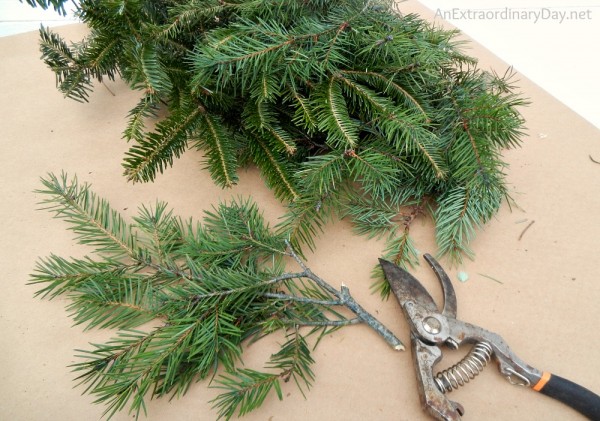
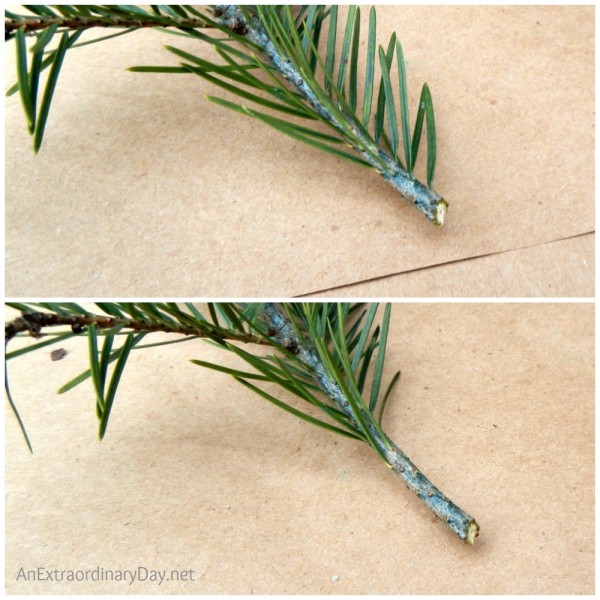
- When you’re ready to start inserting your evergreen stems in the Oasis, take a few seconds, to quickly remove some of the needles about and inch above the cut as shown below. This makes it easier on your Oasis and keeps your stems more secure.
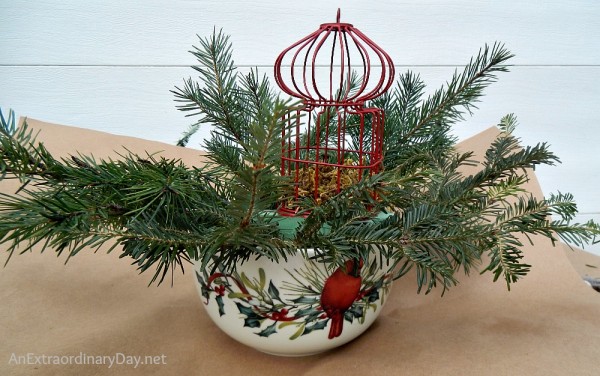
- As this centerpiece will be sitting on the table, I wanted to make sure that the pretty container could still be seen, and yet none of the Oasis would be seen. It’s a little tricky, but start inserting your evergreens low and close to the edge.
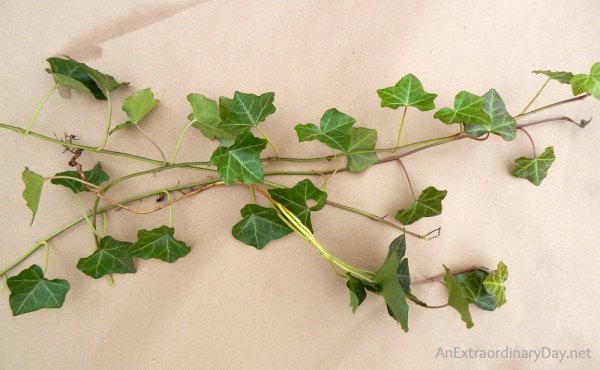
- As I was preparing the centerpiece, outside because it was a balmy fifty-something, I looked to my right and saw a profusion of English ivy growing in the yard. At that moment I realized that I had planned to cut the ivy earlier, but had forgotten. Quickly, I cut several stems which you see below, that were not shown in the original supply photo.
- The English ivy was carefully woven through the evergreens in a circle around the container. Both cut ends were inserted in the Oasis.
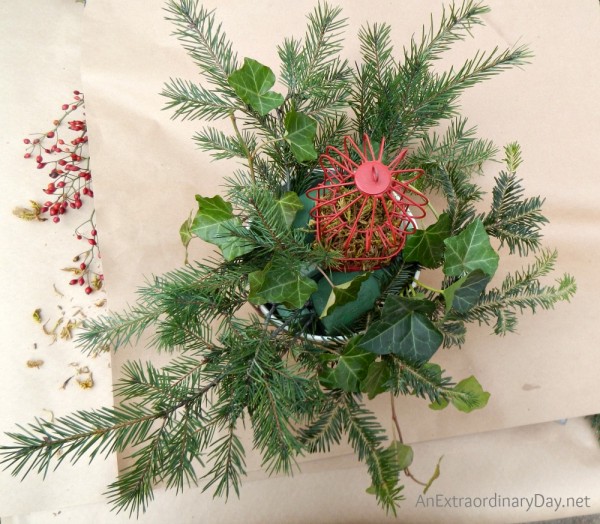
- And for some reason, I quit taking step-by-step photos. Let’s just say I was getting my creativity on and simply forgot because I was enjoying the process.
- Continue to fill in your centerpiece with your assorted evergreens, adding in stems of berries, and finally pine cones.
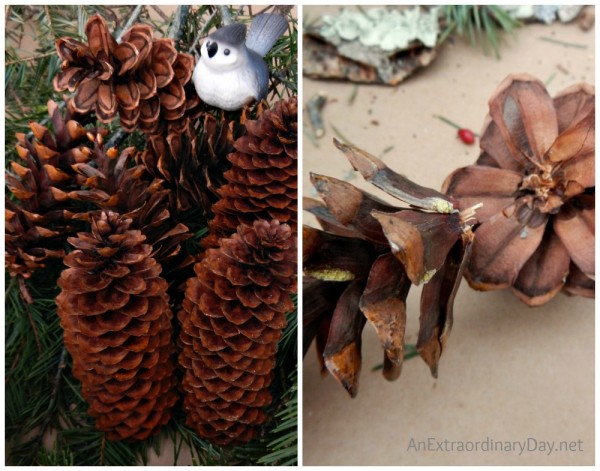
- My pine cones were quite large. Too large for the centerpiece arrangement, so I grabbed my pruners and cut them in half. I love the look as the pine cones look more like beautiful brown flowers this way.
- If you wanted to, you could wire their bases and push the extra wire length into the foam. Here, I just firmly nestled my pine cones into the greens.
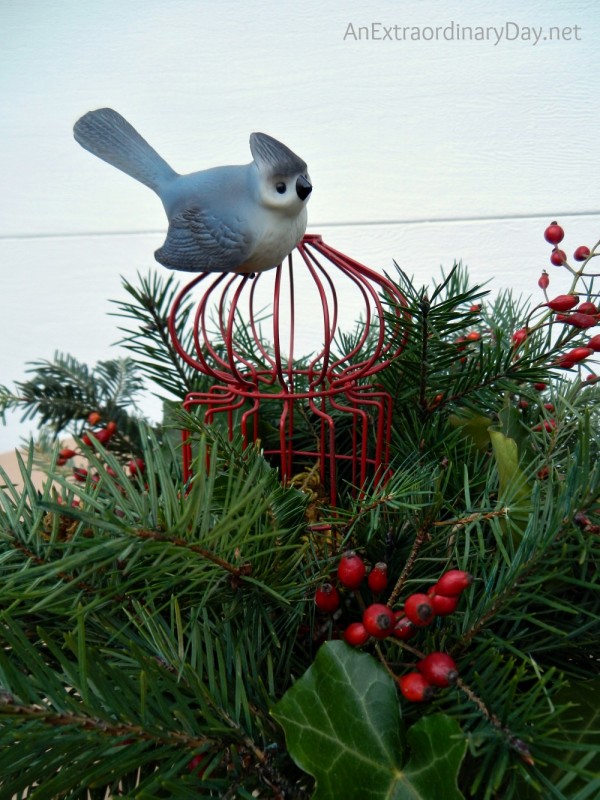
- Just for fun, I added a Christmas ornament bird, a little Tufted Titmouse, to the top of the bird cage.
- When your centerpiece is complete, take a minute to fill the base with some water. Continue to keep the Oasis watered so that it doesn’t dry out. Your centerpiece should last for a week or two easily. It may also be helpful to mist it with a water bottle sprayer as well.
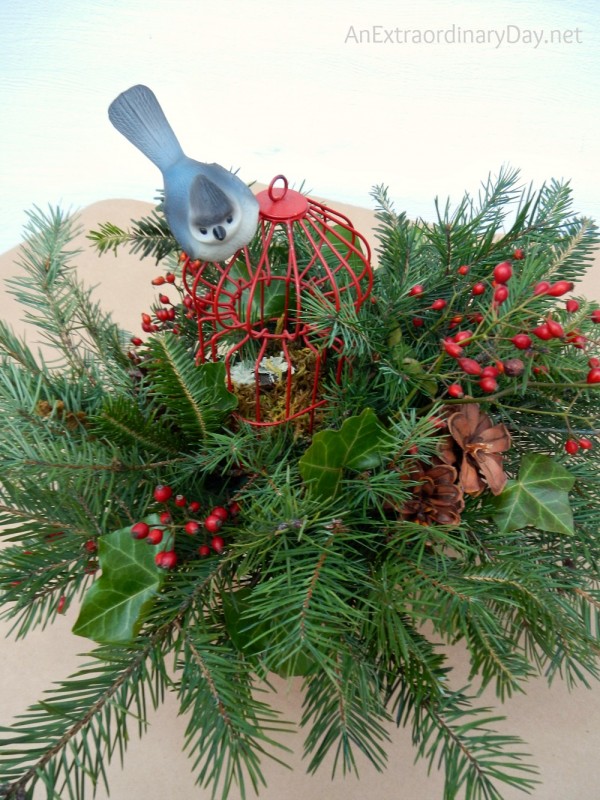
- This centerpiece is very natural and free-flowing.
- Feel free to follow your heart and enjoy creating your Christmas evergreen arrangement however you wish.
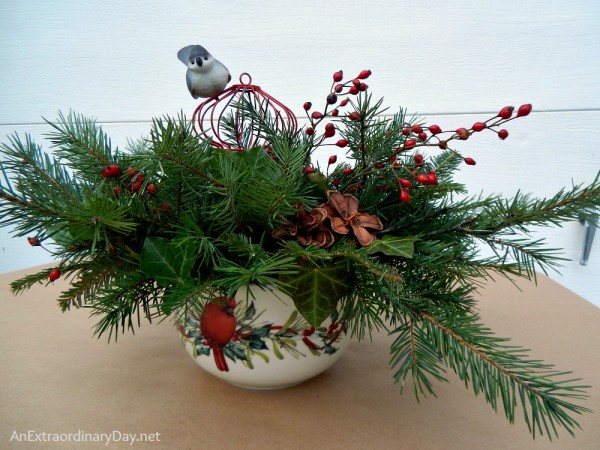
Now you know how to make a fresh evergreen centerpiece for Christmas… for your table… or to give as a gift.
I love how it costs very little to make an evergreen centerpiece. Plus, you can use items from your home or Christmas decorations that you love and will give it special meaning.
Why not make several and incorporate them into lovely vignettes… as I did in Creating Christmas Memories with Vignettes.

Do you usually decorate with fresh or faux greens for Christmas?
What do you usually do for a Christmas centerpiece?
Thanks for stopping by today!
Your sweet comments make me smile.
All the best for an extraordinary Christmas!
Diane
Subscribe to An Extraordinary Day and don’t miss a single post!
More Natural Christmas Decorating Ideas…
 How to Grow Paperwhites for the Holidays
 Create a Beautiful Winter Woodland Birch Branch Tablescape
 Decorating with a Woodland Touch
I recently put together a fabulous gift guide for the hostess* and entertainer.*
It’s filled with thoughtful and practical gifts at various price points. (I’d love them all!!)
And it’s okay to gift yourself, too! 😉

*AnExtraordinaryDay.net is a participant in the Amazon Services LLC Associates Program,
an affiliate advertising program designed to provide a means for sites to earn advertising
fees by advertising and linking to amazon.com


Interesting, totally awesome. Thank you so so much for sharing, Diane
Thank you so much!! I love to play with greens… hope it’s inspired you to make one too!
All the best for a JOY-filled Christmas!
You have enough creativity for a dozen people. I cannot keep up with you….which is why I won’t even try with this one. I’ve been enjoying my centerpiece for a few weeks now, but only because it’s not fresh fir. We have some with allergies to it, so that’s me excuse. LOL. Now the outside table has fresh fir, but its just tied with a ribon. Maybe I’ll save the idea for the next holiday!
You are too kind, Mel!! I never even thought about being allergic to evergreens. Sometimes we take so much for granted. Glad you’re able to enjoy an outside and an “inside” version. Sorry I haven’t been by lately…still keeping you in my prayers. [hugs]
I just love this “natural” beauty centerpiece! I, too, have the same Lenox bowl, but do you think I would come up with your idea on how to use it so beautifully? Duh! So, thank you for another great thinking out of the box idea. I appreciate the pine cone tutorial because there is just something about a pine cone. One year I collected a bunch of different ones and one week later they opened and omitted so much yellow pollen that our visiting friend had an asthma attack…not good! Diane, I wish you and yours a joyous and blessed holiday. Thank you for all you do and say to bring enjoyment and lessons into our lives…you are a sweetheart and a true gift. Hope you feel all the love.
Dear Bobbi, I’m so sorry I missed this comment… nearly 2 years ago. Thank you for your kind words. Hope you’re looking forward to the holidays with joy and expectation. {{Hugs}}
A bit late herebut, I had saved this post so I could come back to look at again! Beautiful and probably will make something similar for brunch with friends tomorrow! I love this, Diane! Thanks for another terrific idea!
I just popped over to this old post for a second and noticed I didn’t reply to the last comments… I’m so sorry.
Lucy, I’ve missed seeing your smiling face on FB… hope all is well. {{hugs}}
Thanks for this! We recently had a huge storm that damaged a lot of trees, so I’ve been looking for a way to turn that damage into something beautiful. Your how-to made me laugh- l would also forget to keep taking photos! Merry Christmas!
This Christmas centerpiece tutorial is a gem! I love the idea of using evergreens from Lowe’s. I once made a centerpiece with pine cones I found on a hike. It was so much fun. I’m curious, though, how do you think the centerpiece would look with artificial berries instead of fresh ones? And does anyone have a creative way to attach the English ivy without it looking too messy?