I think we take often take ourselves and our decorating too seriously.
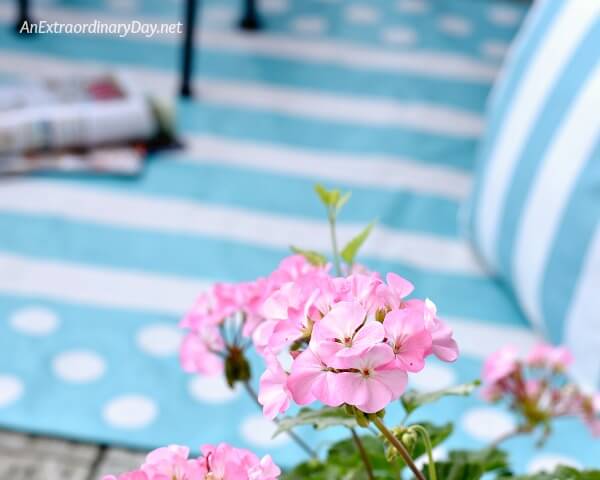
We have a budget and a vision in mind and we put our blinders on and focus on getting “that look.”
Does that sound familiar to you?
I can be guilty of that for sure.
Because everything I’m doing is “new” these days, I am striving to look at my home decor more purposefully. Maybe in an upcoming post, I will delve further into that mindset, but today…
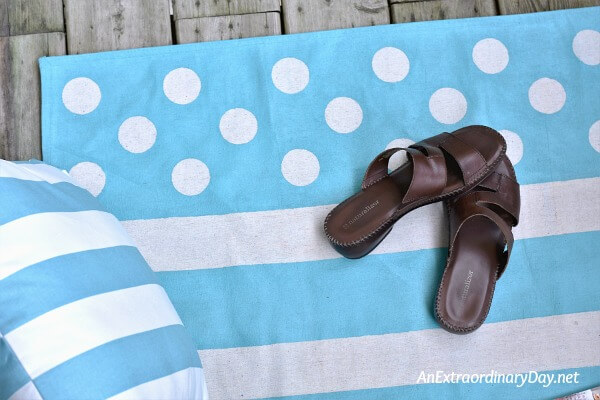
Let’s talk about the floor cloth I created for my balcony garden.
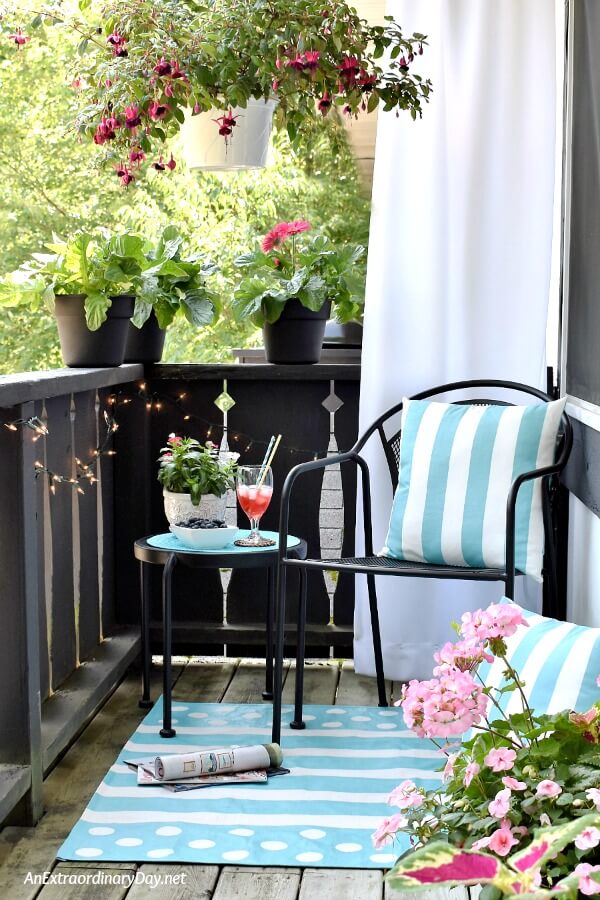
As you know, I am crazy about my beautiful outdoor space oasis. I just love it!
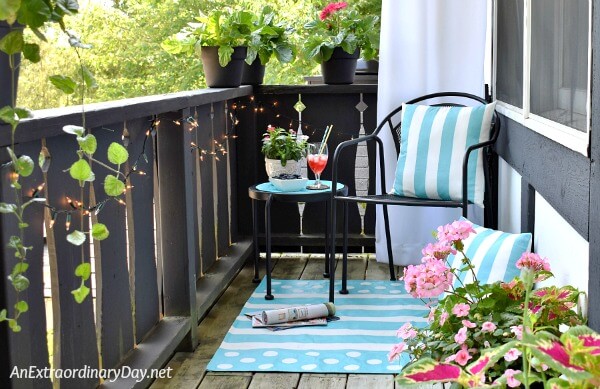
As I was making that space into an outdoor “room” I wanted to add a bit of color. The railings are black, my furniture is black, and I even chose black for most of the containers I planted with foliage and flowers.
There was a wee bit of color that I didn’t plan on, it just happened! When I was looking for a container for my water fountain feature, Tim fell in love with a pretty dark aqua pot. And then I spied that adorable fish which was a pale aqua. So… right then and there… in the middle of Lowe’s garden center… we established the color theme for our new balcony garden.
Okay… I know I could have gone a different route. I could have chosen green… to repeat the lovely foliage theme. Or a pretty pink to replicate the fuchsia or geraniums of gerbera daisies. That being said… if I start decorating with pink other than flowers… which I absolutely LOVE… it will be a surprise to both of us. So… the only real color that remains that’s bright and cheerful and worth repeating is aqua.
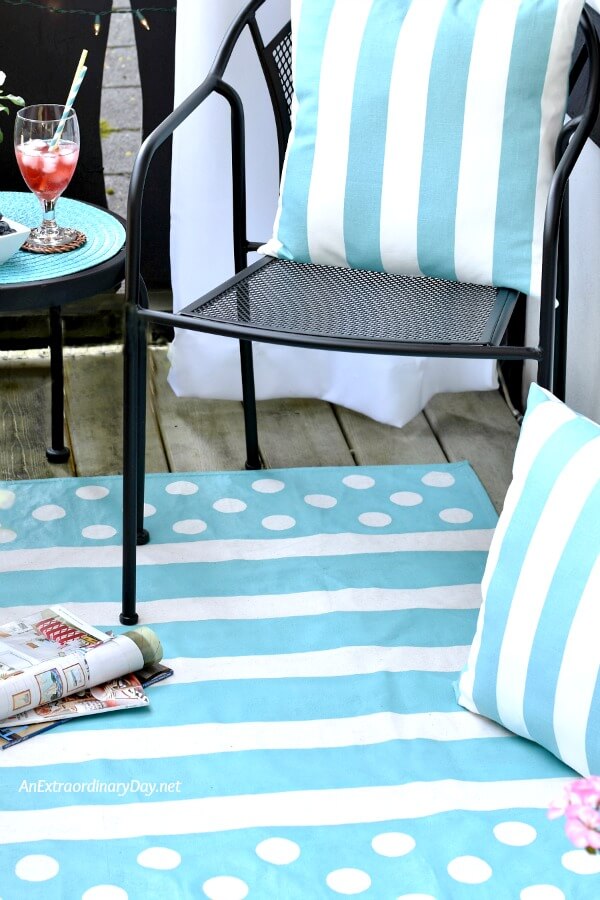
Previous to creating that fountain I had a few other ideas… but in the end… it is the perfect color for me this year. PLUS, I had the striking aqua and white cabana curtain fabric that would have just sat in a bin waiting to be given life again.
The cabana fabric is fabulous. It’s colorful and classic. The big question… “How do I take that gorgeous color and use it on a floor cloth?”
I painted a floor cloth in the past, in fact, it was one of my early blogging projects. I knew what would be required and with my limited space for painting the floor cloth, I wanted to keep it simple. But, not too simple.
Remember I said we take ourselves and our decorating too seriously sometimes?
It’s my firm belief that we need to add a whimsical touch to our home decor. Something that makes us smile. Something that is unexpected. Something that evokes joy or laughter.
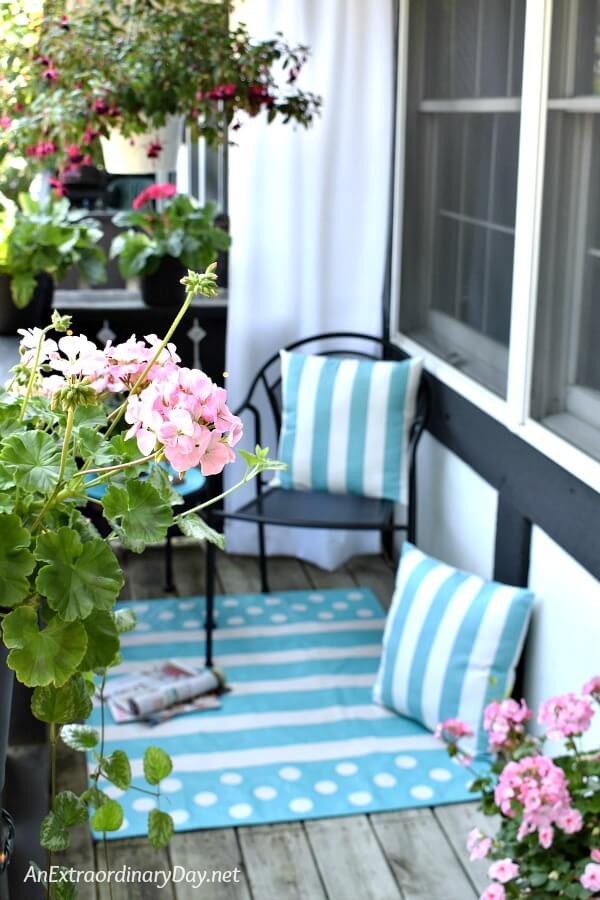
And so that’s how I came up with my design for my floor cloth.
I know it’s fairly classic in design… but polka dots… my favorite… are unexpected and they always fill my heart with joy. I have no idea why. But, I’m a HUGE fan of polka dots.
What made this floor cloth so easy to create was keeping the design to two colors.
Technically one color as I used the natural canvas as one of the colors. That simplified the process immensely. It went so much faster than the large multi color floor cloth I painted 3 or 4 years ago that is currently in storage.
Because I wanted the floor cloth and the pillows to match… I took a swatch of the pillow fabric to the paint store and found a paint chip that was very close.
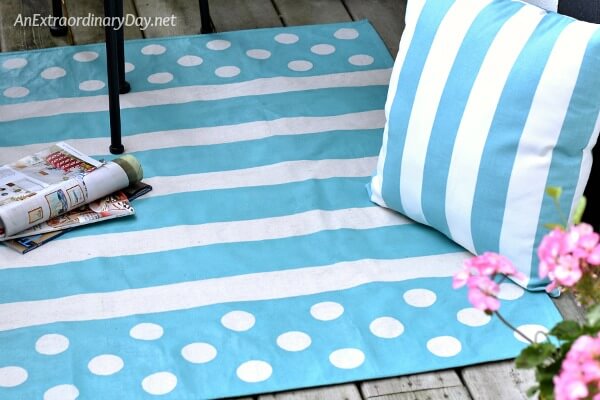
Close. Not an exact match. I decided that if it were a little lighter it would be the perfect match, so I mentioned it to the paint guy at Sherwin Williams, whom I know really really well [wink], and asked if he could lighten it. He said… “we can make it at 80 percent.” I said… “let’s go for it!”
To make this project super easy, I also purchased some Frog Tape and some Avery stickers
.
You’re probably wondering about the canvas for the floor cloth. This wasn’t something I purchased… instead, I asked Tim if I could chop the end off his long painters’ drop cloth. I have no idea how he had not gotten any paint on it… but he generously said yes.
I think he is a little sorry that he said yes because when he was on a painting project, he said he had to keep moving the cloth and had I not chopped a piece off it would have been the right size. However, I’m pretty sure all the walls he painted were not the length of the uncut drop cloth. I think he just wanted to tease me.
Once I had acquired all my supplies… it was time to start designing and creating.
My new 3 x 4 foot painters’ drop cloth turned floor cloth was hemmed on three sides and so I needed to fold over and machine stitch a hem for the fourth side. Once that was done, I placed the drop cloth on the floor and proceeded to lay out my pattern with Frog tape and labels.
I found that it was helpful to have a measuring tape and pencil and eraser as I planned my design. You might want to plan your design on a piece of graph paper ahead of time. I could have done that, but I wanted to get the job done, and I had a 10-year-old neighbor who wanted to hang out with me and always asks if she can help me with a project and I tell her later way too many times.
No doubt I could have accomplished the task a little bit quicker, but it did give me the opportunity to show her how we use math to lay out designs and practice her multiplication tables and talk division and measuring units.
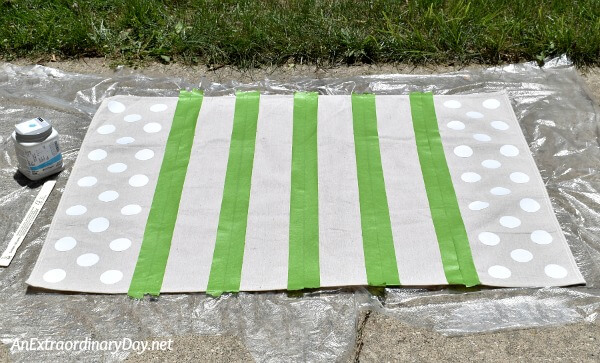
Once the tape and labels were in place, I grabbed a plastic drop cloth and went to the ground floor where the patio of an unoccupied apartment was available so I could do my painting. I could not have painted this on my balcony as there isn’t quite enough room, and with the spaces between the decking, it would have been super awkward. My apartment is carpeted except for the kitchen and that space was too small, so I was super happy to have been able to paint on the cement patio. From experience, I know that a flat hard (preferably smooth) surface is the best for painting canvas.
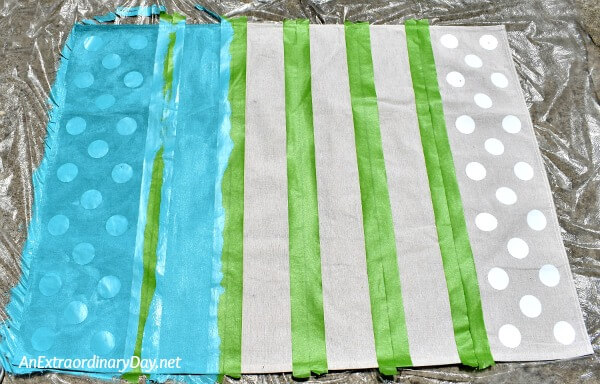
The trick for painting a floor cloth is to make sure that the edges of the tape and labels are well adhered to the canvas. And when you paint, be sure to brush your paint from the tape to the canvas to ensure that you will have a clean edge on stripes or dots. Work fast, but also take your time. I know, it’s a dance. The task does require a little precision. Make sure to completely cover the canvas with paint filling in all the little spaces in the fabric weaving for good color saturation. Don’t worry about using too much paint. My project only required about 1/4 to 1/3 of the quart of paint.
Because I was working in the sunshine, I didn’t want the paint to fully dry before removing the labels and tape, so I painted a couple sections and then removed the labels/tape and then repeated the process.

If you use your floor cloth it will get dirty. Like it or not… especially if it’s on the floor outside… dirt happens.
But, don’t worry, you can take preventative measures. After the paint has dried well, you will want to coat it with a non-yellowing clear poly coat to protect it from getting soiled.
Brush the entire cloth, the painted portions and the unpainted canvas portions with the poly and allow to dry.

The back of my painters’ drop cloth has a non-slip backing, otherwise I would have poly coated the back as well.
That’s all there is to it! It’s easy and goes pretty fast. And best of all… you have a fun and whimsical floor cloth for your patio, or balcony, or other outdoor space in just an afternoon.


I don’t think water will hurt it… but I take my cloth in when I anticipate that it will rain. Then again… I also put my flowers under the eaves so they won’t get damaged by the rain either. (Rain shortens the life of a blossom, so I take that as a good reason to bring things under cover when it rains.)
For your convenience… here’s my supply list.
Hand Painted Floor Cloth Supplies
List includes affiliate links.
- 3′ x 4′ Canvas Drop Cloth (4 x 12 Painter’s Canvas Drop Cloth
)
- Frog Tape 1.41″
- Avery 2″ Round Labels #22817
- 2″ Paint Brush (I like this one
)
- Sherwin Williams Paint Quart Color to Go Sample in Satin (Aquarium @ 80%)
- Minwax Water Based Polycrylic Protective Finish – Clear Matte
(note: it’s not a flat finish)
- Plastic Drop Cloth
- Yardstick or Measuring Tape + Pencil
So what do you think?
Will you try your hand at creating a whimsical floor cloth for your deck, patio, balcony, or porch?
Where could you add a bit of fun and whimsy to your home or outdoor space?
More Decorating Ideas…
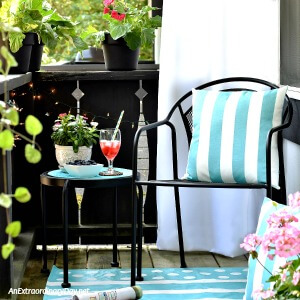 Please Join Me in My Wonderful Balcony Garden
AND
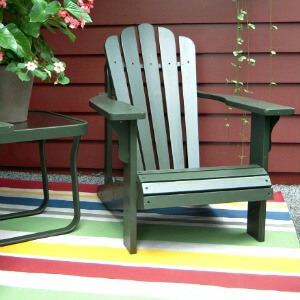
How to Paint a Rug on Your Floor
Thanks so much for popping by today!
If you enjoyed this post, please use the sharing buttons to share it with your friends and “pin it,” too.
Receive FREE inspiration like this in your inbox!


Absolutely lovely.
I would make one for my patio (with your help) if I wasn’t such a clumsy goof. I trip over my feet, my puppy dogs, dog toys, and invisible nothing’s! So I will simply have to enjoy yours from the safety of my chair. Hope you don’t mind ?
Blessings to you,
Minnie
Thank you, Minnie, for being an arm chair enjoyer. 🙂 My floor cloth has an anti slip backing so that is good… but it as with any rug… tripping is always an issue. 🙁
Hope your weekend is extraordinary! xo
Love it!!!! one question…. did you have to finish the edges?
Thank you!!! Debbi… 3 of the edges were hemmed, I turned over the one unfinished edge and machine stitched it. In all seriousness… I don’t know that any of the edges would need to be hemmed if they were carefully painted and sealed on the edges of both the front and back… if you don’t have a sewing machine.
I love how cheerful this looks. And whimsical you say. Yes. Thank you for the sticker idea. I thought you painted then went back and did a white circle. This was so smart!
I’ve seen people use the sticker idea on jars so that you can see inside the jar when you paint it… so grateful that remembrance came to mind when I was devising a design. LOL Thanks Gwen for always being such a wonderful encourager! xoxoxo
Wow! I had no idea that you painted that floor cloth! Great project!
Awww… thanks, Chloe! It was a very rewarding project. xo
I will certainly make a floor cloth. I made 2 many years ago and used on as a base for our office chair over hardwood flooring. It is in very bad shape and needs to be replaced. My husband is a Nascar race fan so its design is of Nascar. I made one for my daughter who is a Pittsburgh Steelers fan, therefore hers has that theme. Much fun and really is quite rewarding to create. Thanks for the refresher course in floor cloth creating and getting my mind going in the right direction again.