I’ve been impressed with many IKEA Rast Hacks floating around the internet. There are so many truly creative ideas. So when I was approached by Hickory Hardware I leaped at the opportunity to put my creativity to work. Shortly thereafter, an IKEA Rast dresser was sent to my home along with a $25 Visa gift card to purchase supplies for the hack. Knobs for my Rast Hack were provided by Hickory Hardware. No other compensation was received.

A new baby girl in the family gave me the perfect excuse and idea for transforming this small (24 3/8 x 27 1/2″) 3-drawer pine dresser into pink and white polka-dotted girly bliss.
Let me take you on a stroll through the project as it came together… including a slight glitch.

This is a full assembly project and required close to an hour and a half of my time.

I took a few extra minutes to sort all the parts into individual baggies. It really does make it easier to do that at one time, eliminating searching for that elusive screw or gizmo.
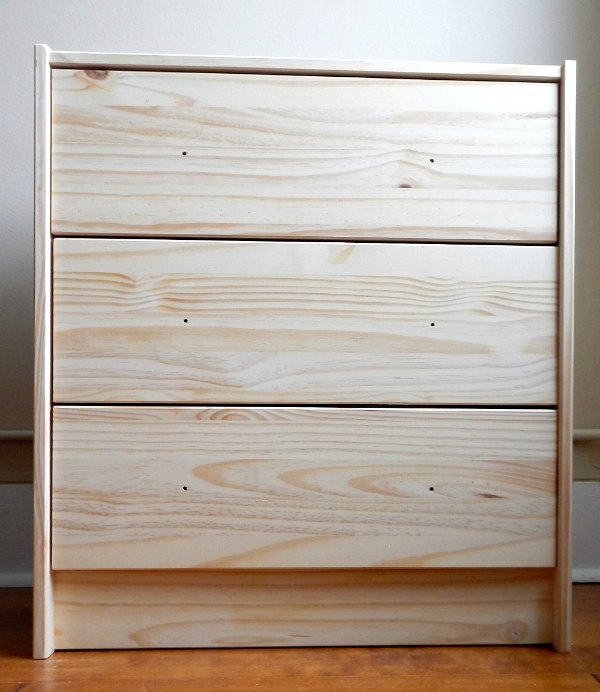
Once the dresser was assembled, it was time to begin painting.
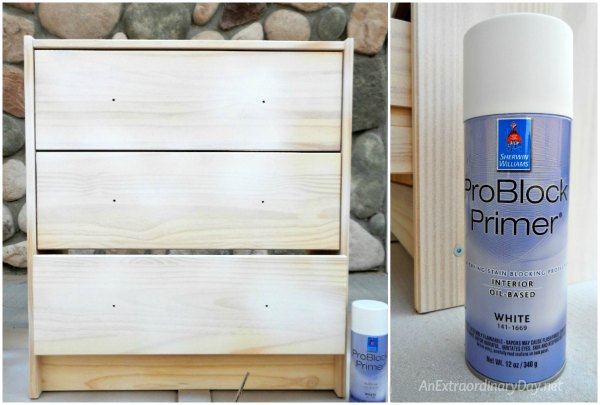
Anytime you are using pine that has knots, you must seal those with a sealer. My Sherwin Williams paint store highly recommended this spray sealer. It worked like a charm. Fortunately, I had a low breeze day and it was above freezing.
After sealing the knots… I filled in the pre-drilled hardware holes with wood filler as I had a different placement idea in mind for my project. After the filler was dry, I used my foam sanding pad to sand down the surface to prepare it for pink paint.

I used Sherwin-Williams ProClassic semi-gloss. This stuff is expensive. With a 30% discount, the quart of paint and ProBlock Primer pretty much took my whole budget. But, I wanted the peace of mind of using a good paint for baby girl.
Two coats of In the Pink (SW 6583) were applied and I again sanded lightly between coats.
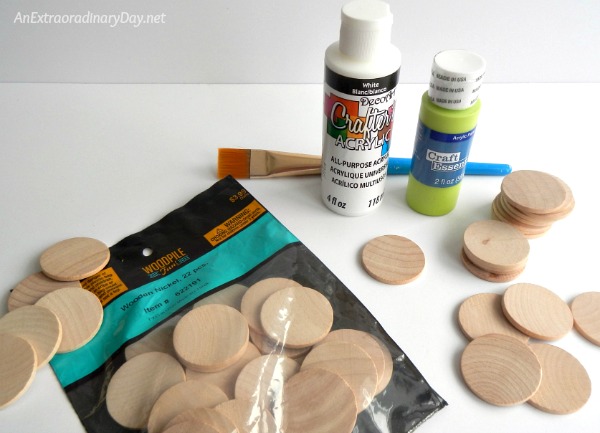
Because baby girl’s momma is also a lover of polka-dots, I decided to make that my feature. There is no doubt that I could have painted the polka-dots… but that wouldn’t be a fun as creating a relief on the drawers. I hunted around the craft stores and found the perfect wood disks at Hobby Lobby and picked up inexpensive crafter’s acrylic paint at Meijer and JoAnn’s. Because baby girl’s momma also likes green, I decided to paint three of the polka-dots green for a little added whimsy.
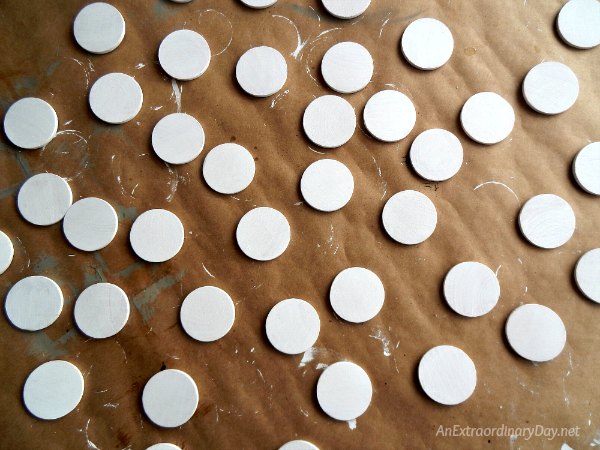
The rest of the dots… all white. They will require two coats of paint.
One tip to make this easier… use a coated paper plate. It’s great to squirt a blob of paint there to work from and paint the wood disk all on the same spot.
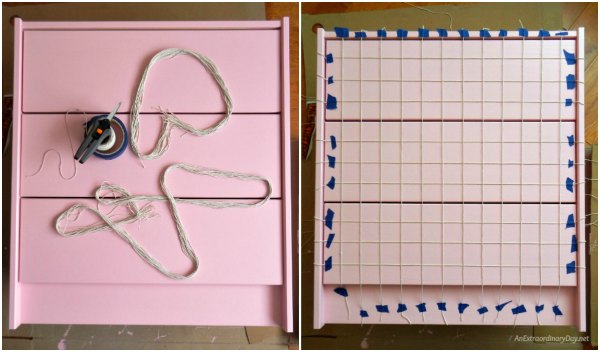
Once all the paints were dry, it was time to grab some household string and painter’s tape to make a grid for working out the polka-dot design. I have to tell you… as much as I thought this through… well… it just didn’t go as smoothly as I hoped.

This was my first attempt. I realized after the fact that my grids were not centered quite right on the drawers. Additionally… I was feeling over-powered by polka-dots. Can there really be such a thing as too many polka-dots?
I dreaded starting over with the string… so I procrastinated a few days.

In order to get things better centered, I added the “X” of string… and then adjusted the grid accordingly.
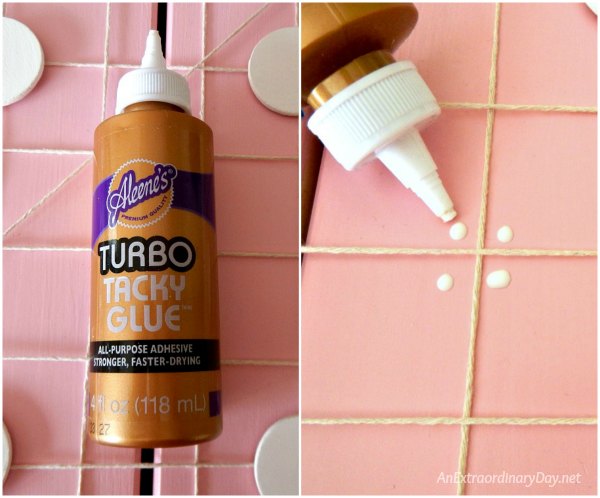
Once I was done, I experimented with laying out the polka-dot pattern. Once I was happy with the pattern, I used the string grid as a guide and applied 4 dots of my go-to Turbo Tacky Glue and then carefully slipped the painted disks under the string and used the string as my centering guide. It’s a little tedious… but worked great.

After the glue dried, I marked the center with a pencil and then used my awl to give my drill bit the proper start. Drilling for the hardware went pretty quickly.

I LOVE the white porcelain knobs from Hickory Hardware. There are perfect for my polka-dot theme. Did you notice I didn’t space the knobs out in the expected fashion? For me… this was just the extra bit of whimsy for this girly project. And you know how I like to color outside the lines.
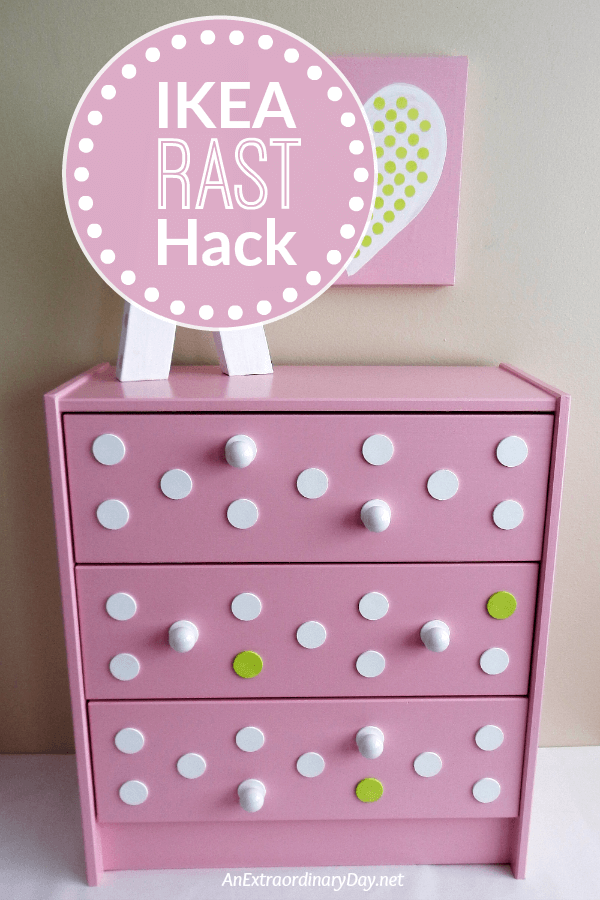
I styled the dresser with an extra little decor gift for baby girl in my pink and white and green polka-dot theme. Hopefully, I’ll be back soon with the details on how I created the lovely “A” and heart art.
Are you inspired to do a furniture makeover?
What project have you been dreaming of DIYing?
Nine bloggers, including moi, are competing in this IKEA Rast Hack Challenge hosted by Hickory Hardware.
Be sure to stop by Hickory Hardware on Facebook between March 9 and April 4 to vote for your favorite makeover.
Click HERE for more fabulous Furniture Makeovers!
Thanks for stopping by today… I can’t wait to hear your lovely thoughts!

Receive FREE inspiration like this in your inbox!
Sign up Now.


This is beautiful. What a fantastic gift! I love the pics and step by step instructions, very inspiring.
Thank you Kim…. I really do hope she likes it. 🙂
That looks adorable, love the color and those adorable polka dots. They add such a whimsical feel.
Thank you Christine!! I’m such a fan of polka-dots and I’m so happy that you enjoy their whimsy, too!
All the best for an extraordinary weekend!