Are you ready for a DIY that’s easy and perfect for spring?
I put together this easy spring dogwood wreath…
in just thirty minutes for just three dollars…
and you can make one too.
On Friday night my friend and I took a drive to the largest greenhouse I’ve ever seen. On the way home, we passed countless dogwood trees just beginning to bloom in the woods lining both sides of the highway. It was spectacular.
Spring is here in full force and the dogwoods are blooming and the dogwood stems I purchased for just $3 each at Walmart were waiting in my studio closet anxious to make their debut. Can’t say I blame them, they’ve been there for a couple of months because I didn’t immediately run home to decorate with them.
It wasn’t until Monday morning when I decided that I needed to get my tiny deck ready for spring and flowers that I gave another thought to the wreath. Although I had purchased a wreath at Walmart when I purchased the dogwood stems, I had a last minute change of plans and already used that wreath in other ways, which you have yet to see.
My deck had several long grapevines strewn down its length since before Easter when I gathered the grapevines so I could make bird’s nests. I got a little carried away in my collecting efforts and so the extra vines laid in waiting on my deck.

Those extra vines could have been discarded, but instead, I decided to quickly whip up a wreath. It didn’t take me more than fifteen minutes to turn those vines into a wreath. If you can wind up a garden hose, you can make a grapevine wreath. The only difference is that occasionally as you loop the grapevine you need to loop it under and over some of the other loops of grapevine that are making up your wreath being sure to tuck your ends behind another portion of the vine to keep everything in place. And yes… it really is that easy. Of course… you will have to tell the vine who’s boss. Once the grapevine gets that message it will be compliant and you’ll have a lovely wreath.

After the wreath was made, I grabbed the dogwood stems. I purchased two stems to use to decorate a larger wreath but used only one to decorate this wreath. Yes, I could have used both stems if I wanted the wreath to be more about the dogwood blossoms than the wreath. But, hello! I made this wreath from scratch so of course, I wanted to show it off a little.
Let me give you a quick tutorial so you can whip one up too….

Make an Easy Spring Dogwood Wreath
Supplies (affiliate links below)
- Grapevine Wreath
- Dogwood Flower Stems
- Wire Cutter
- Hot Glue Gun & Glue


Instructions
Using wire cutters, snip your dogwood branches off the stems. You should have 6 or 8 inches of branch with 3-4 dogwood flowers.

Take a cut branch of dogwood blossoms and insert the end into the wreath. Then slip one or more flower stems under a bit of the grapevine. Arranging as you go.
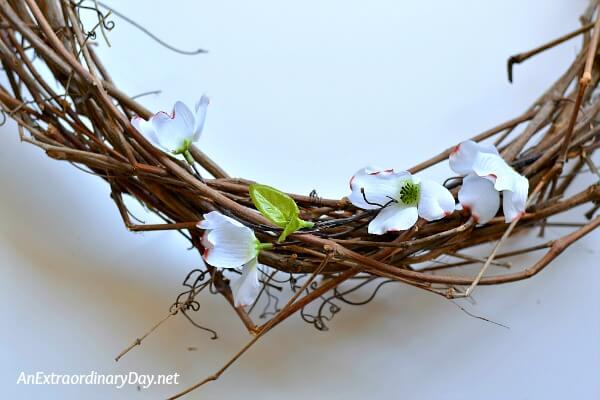
Work in a circular motion, inserting the base of the next flower stem into the grapevine wreath a little beyond the last flower you placed.
If you wish to use hot glue to hold anything in place, you may do so. If your wreath is going to be placed on an outside door, you’ll want to be sure to hot glue everything in place. Because I created this wreath myself to use in my home and will reuse it again, I won’t use hot glue until the next step.
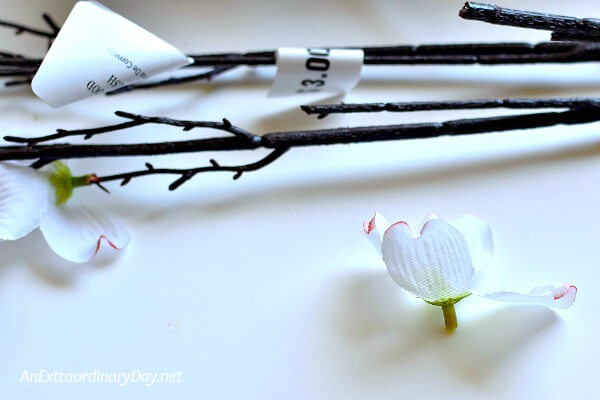
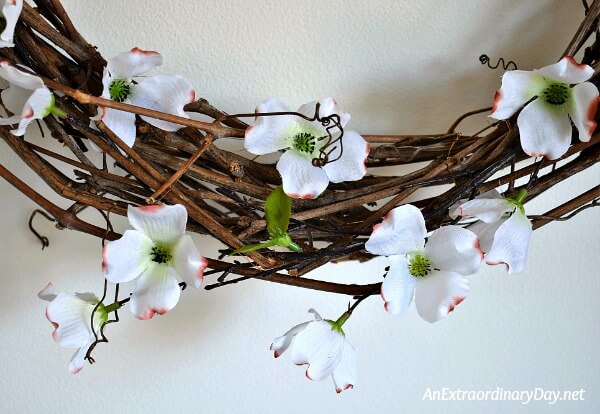
Because most of my blossoms were sort of sideways on the wreath, I decided to pull the flowers off the rest so that I would have full faced blossoms on the wreath as well for a prettier look. After you have placed stems of dogwood around your wreath, take the remaining flowers and pull them off their stems. My branches had their flowers glued on so they took just a wee bit of muscle to get them off.

Take a dogwood blossom and place a dot of hot glue and the base of one of the petals, and place that gluey section down on a piece of grapevine.
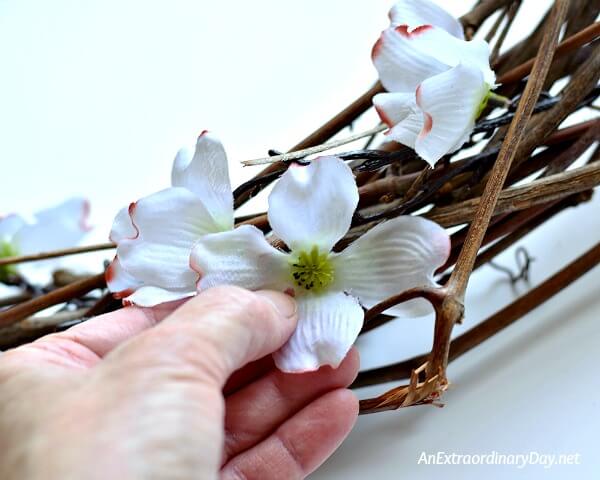
Think of your wreath with an imaginary large square placed in the middle of your wreath on a spinner. At each of the four points place a flower on your wreath and then spin so that the point of the square is mid-way between the flowers you already placed and glue flowers in place at the points of your square. Repeat the process until you have used all your flowers.
That’s it!

Sure you could add a big floppy bow and ribbon, or a bird’s nest, or more flowers. But why? This is a case of less is more. Trust me on this. I’ve probably made a hundred wreaths and though you can spend a lot of time and money to make a lush full wreath. Lush and full isn’t always better… most of the time… it’s just different from free and natural.
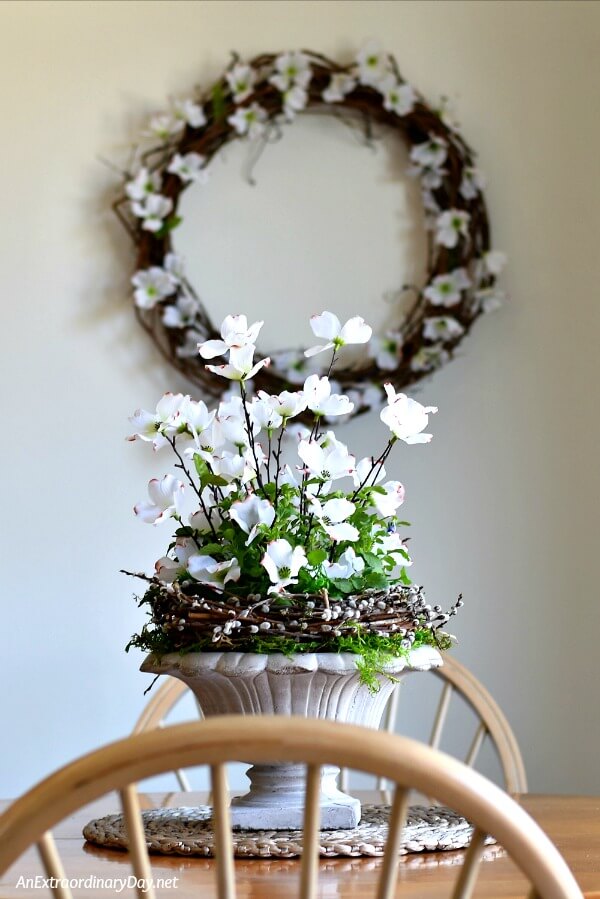
Now it’s time to hang and admire your beautiful springy dogwood wreath!


I wanted to bring a bit of springtime to my breakfast table, so I took down the painting with the sailboat I made last summer and replaced it with my pretty grapevine and dogwood wreath.

My current centerpiece is the concrete urn that I had previously used on my side table for Easter and later filled with live pansies. My living room faces north, so there just wasn’t enough light to keep the pansies flowering, so I decided to place them on the breakfast table where they are closer to the window. They get enough light to keep the looking fresh and healthy, but not flowering.
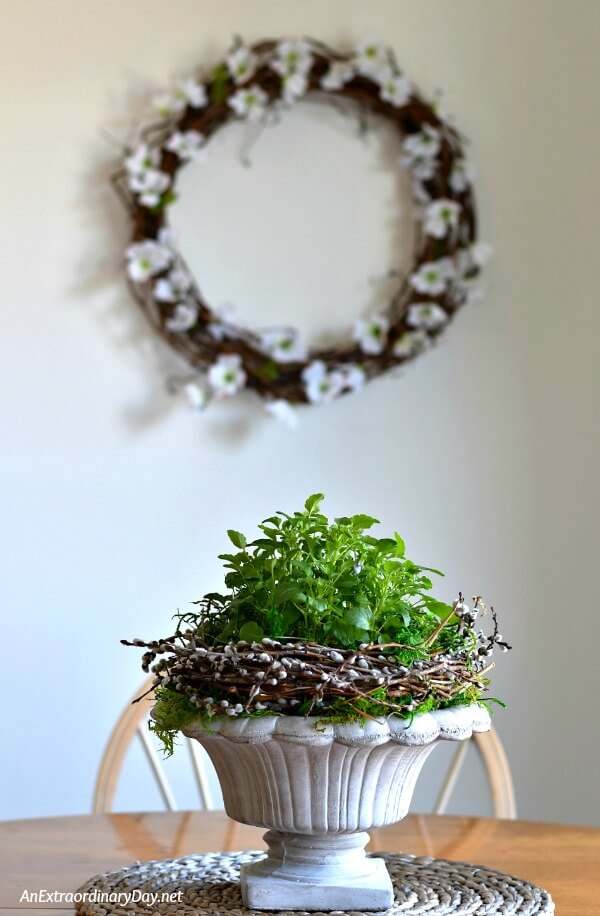
As I was taking photos of the wreath and breakfast area, it dawned on me that I had another stem of dogwood blossoms that I had not used. Voila! Why not fill the urn with dogwood flowers. And so I did.
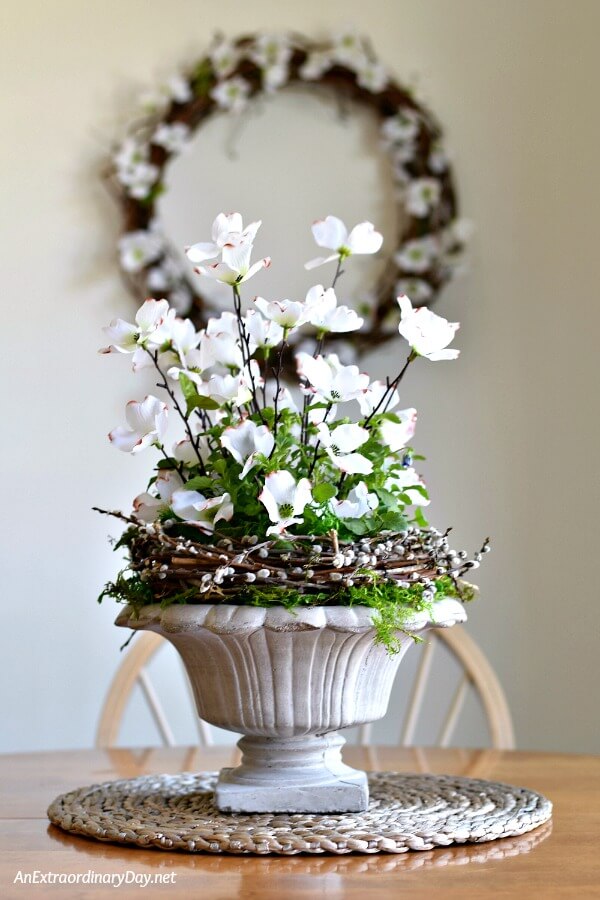
This is the first time that I have ever done anything like this. Mixing live plants with faux flowers… that is not my usual style and yet… I LOVE it! The combination is gorgeous and with the dogwood wreath, my breakfast area looks pretty amazing.
Again, it was super fast to create. All I did was cut the branches from the main dogwood stem and insert them into the soil. I don’t think it took me more than five minutes.
It’s just like Teddy Roosevelt said…
“Do what you can, with what you have, where you are.”
In some ways, I unknowing have always lived my life by this saying for as long as I can remember. But, probably more so the last seven years. You know the saying, “When life hands you lemons, make lemonade?” A few weeks ago we faced another disappointment and as I was discussing it with a good friend, she asked what I was going to do. My reply… make lemonade! I went on to say that it wouldn’t be ordinary lemonade, I’ll make pink lemonade and serve it up in beautiful glasses with their rims encrusted with sparkly sugar, topped off with fancy pink straws. Yes, lemons turned in a lemonade party.
Grapevines grow in the woods adjacent to our home. They were there for me to pull down and wind into a lovely wreath and they didn’t cost me a single dime. I’m sure that many see them as an eyesore, but to me they were beautiful and a perfect way to bring nature’s glories into my home. And now you know the rest of the story.
Taking what I had, making a small purchase, and exercising a bit of creativity gave me wonderful results. Plus, it was fun. So much fun, that one morning as I was eating breakfast, shortly after having created the centerpiece, I photographed it in the morning sun. Sure, those blossoms still look faux. But, in the sunlight, they look faux amazing. (I couldn’t resist!!)

Now my next step is to start working on that little deck outside the window of my breakfast table. It will be fun to do and share with you, soon.
I’d love to hear about your latest easy peasy DIY….
Thanks so much for popping by today!
If you enjoyed this post, please use the sharing buttons to share it with your friends and “pin it,” too.

Receive FREE inspiration like this in your inbox!
MORE SPRING FLORAL DECOR IDEAS
 How to Make a Pretty Wreath to Beautify Your Home
 Decorating a Vintage Window for Spring with Birds, Music, and Pennant Banners
 Spring Home Decor :: Tulip Wreath DIY


Your wreath is beautiful, Diane, and so is that beautiful centerpiece. Such a lovely “set”.
Thank you, Mary Beth, for your kind words. I am really enjoying both… especially on this gloomy cold day.
Hope your weekend is extraordinary!! xo
How great and puts a spring in our steps. Very eye catching is the urn!! My favorite part. Yes fine as greenery but when you added the faux dogwoods? Voilá! Stunning! Like how you staggered the heights. Yes good idea to say, I shall dip my glass in sugar and make pink lemonade and add a pink straw!! Yes. How fun.
Isn’t it funny how the purpose of all this was the wreath but in the end… I think the urn was the best, too. Thanks Gwen for enjoying it with me and totally “getting” it all. Big hugs to you sweet friend!! (Praying for Curt, too.)